This guide is a continuation of our series where we share our experience and advice on how to create your own board, card, and educational games. Check out the first guide about the common steps for creating your own card game. Today, I’ll explain how to design game cards in more detail than in the previous guide.
Before Designing
Before you start thinking about how the cards for your game should look, create a list of the elements that should appear on the cards and determine how many different card types you need. For example:
- Playing cards: cards with an illustration, a star element, and a title. Standard game card size.
- Goal cards: cards with illustrations only, square format.
Design Ideas
After you have a list of requirements for your cards, you can start thinking about how they should look. You can create your own cards from scratch, browse different resources for inspiration, or even use our templates.
Where to find card design ideas:
- Pinterest, for example our boards with game card designs
- Board game review videos on YouTube. Don’t be afraid of videos in foreign languages — you can enable translated subtitles. In reality, you don’t need to understand the rules because you are only looking for design inspiration.
- Board game websites such as boardgamegeek.com
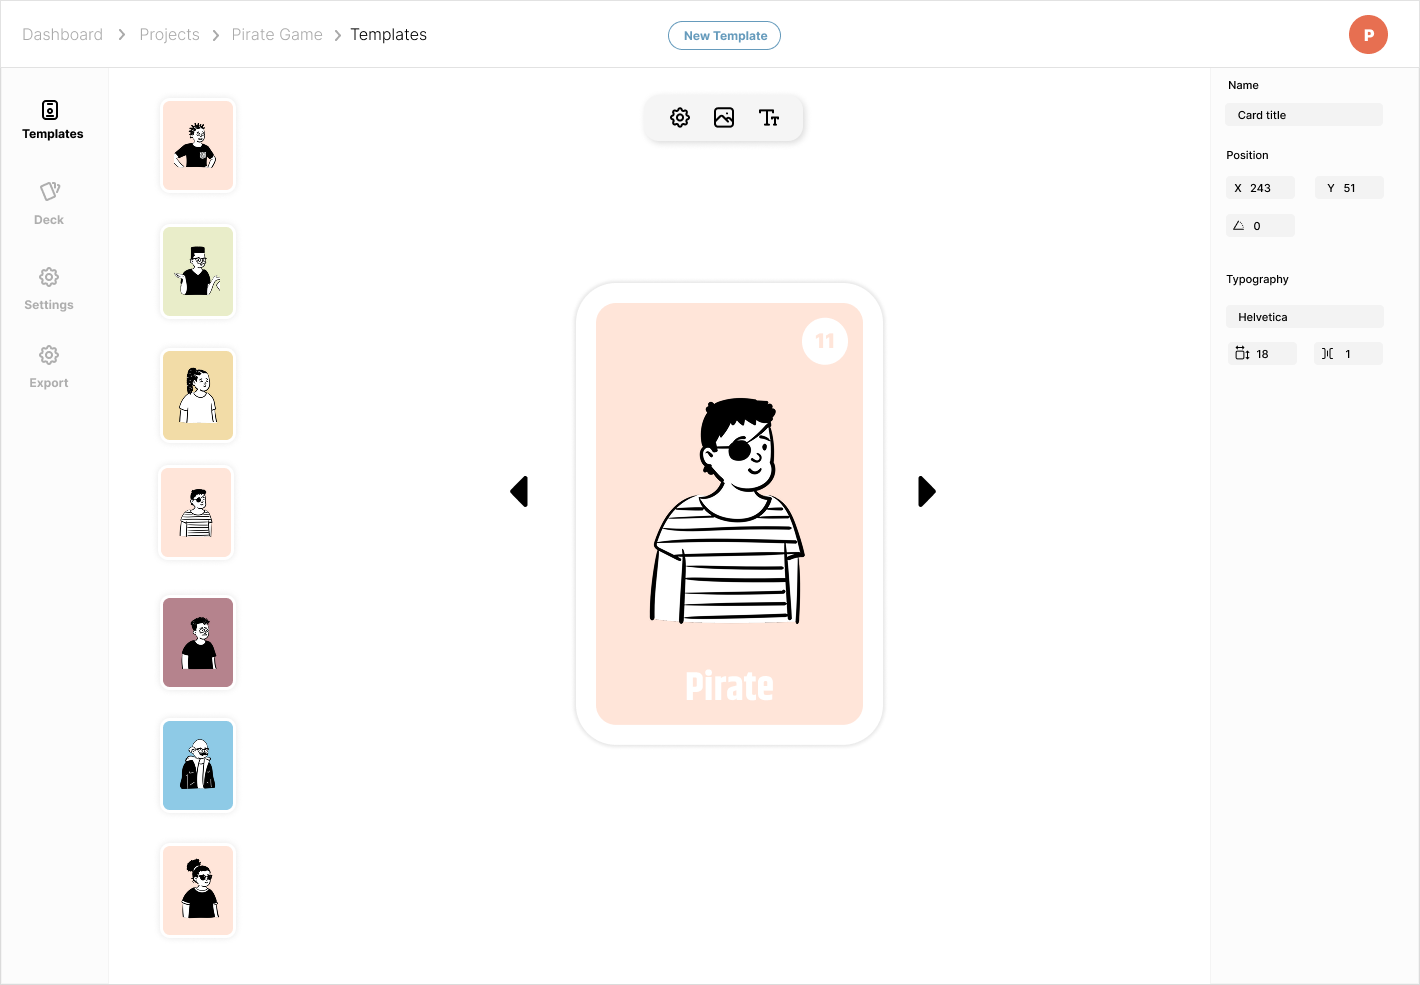
You can also start quickly by using our templates, which you can use for any project without limitations.
Where to Design Cards
We recommend designing cards in Figma. It’s a graphic design editor that is both beginner-friendly and widely used by professional designers. It will probably be free for you if you don’t plan to work in large teams.
The process of creating a card is simple:
- Decide on card dimensions (remember that larger cards are more expensive to print at home, require more storage space, and cost more to ship)
- Create a rectangle with those dimensions in your graphic editor
- Add the required elements to the card with real values to see how the final card will look
- Create as many templates (or designs) as you need, but avoid creating duplicate cards with only different values (we’ll explain how to handle this in the next section)
How to Generate the Whole Deck from Templates
After you have created your templates, you can generate the whole deck for your game (the deck is the complete set of cards used in the game). You can do this manually, but it takes a lot of time to copy, paste, edit values, and prepare cards for printing. It also becomes difficult to update the design because every card must be edited manually.
To solve these problems, we developed our own Figma plugin (SalutCard) that creates cards from templates with different values and automatically exports them, including splitting them into A3/A4 PDFs.
How it works:
- Create card templates and name them with the prefix
template-... - Name text labels and image layers that should change between cards using placeholders like
{{some_name}} - The plugin automatically finds all templates and creates a list of all labels and images named in this format
- Add rows to the generated lists and edit the text and images for each card
- Click Generate to create all cards for your game (cards can be split into A3/A4 pages or exported as images)
- If you want to change the card design, edit the template once and click Generate again to recreate all cards
This usually saves a huge amount of time — not hours, but days, based on our experience. It also significantly increases the chance of finishing and releasing the game compared to doing everything manually.
The plugin is free for up to 50 cards and costs $25/year for unlimited cards.
How to Print Cards
After your deck is ready and exported as a PDF, you can print it at home or at a local print shop and then cut the cards.
Use tools designed for cutting printed A3/A4 sheets into cards, such as a paper cutter like the Vaessen Creative 2207-108. You can also round the corners using a corner cutter from AliExpress or a local craft store.
In our experience, it takes around 60–100 minutes to manually cut 100 cards.
At this stage, don’t spend time searching for manufacturers to create a professional prototype for you. Make the prototype yourself, test the game, collect feedback, and only start looking for manufacturers once the gameplay feels polished.
Remember that working with third-party manufacturers requires additional communication, production, and shipping time.
Advice
- Remember that game creation is an iterative process, so don’t try to create a final pixel-perfect design during the first iteration because you will probably want to change it later
- Print a few cards first to check whether the card dimensions feel right or if you want to adjust the size
- Use draft printing mode if you print at home
- Avoid filling cards with large solid colors (for example, making the entire card green or yellow) if you print at home, because this uses a lot of ink. Instead, consider using colored paper.
- Whenever you see a card design that inspires you, save the link or a screenshot somewhere so you’ll have a source of inspiration when designing your own cards
If you have any questions, feel free to contact us at salutcard@proton.me.